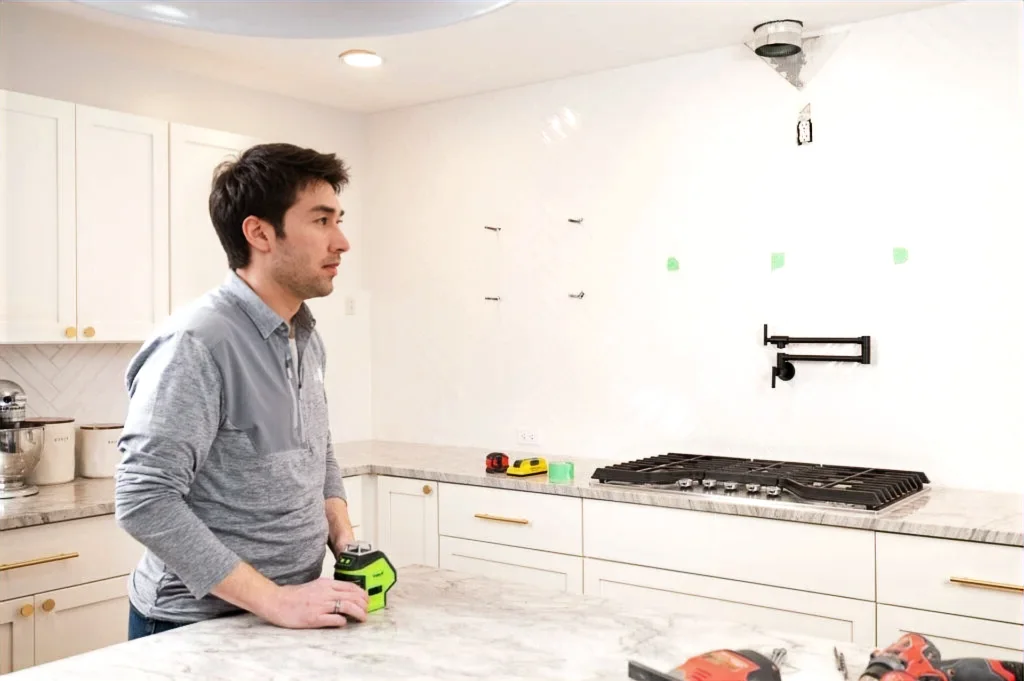
STEP 01
Prepare the wall
Mark the hood position and check alignment with a level. Confirm the mounting points and wall support. Have ductwork and the electrical connection prepared before lifting.
 HOOD2HOMEBY PETROFF PRO LLCProject form ↗
THE INSTALLATION GUIDE
A photo overview for your installer: review it alongside the exact insert manufacturer’s instructions and the approved shell specifications.
BEFORE YOU BEGIN
Check the shell and insert dimensions, cooktop clearance and wall support. Your installer should choose hardware suited to the hood and wall construction.
Plan the duct route and electrical connection before mounting. Use the duct type and size specified for the exact insert. Electrical work should be handled by a qualified professional with power isolated.
Installation is not included in the hood shell purchase. This overview does not replace appliance instructions or a site-specific installation plan.
STEP 01
Mark the hood position and check alignment with a level. Confirm the mounting points and wall support. Have ductwork and the electrical connection prepared before lifting.
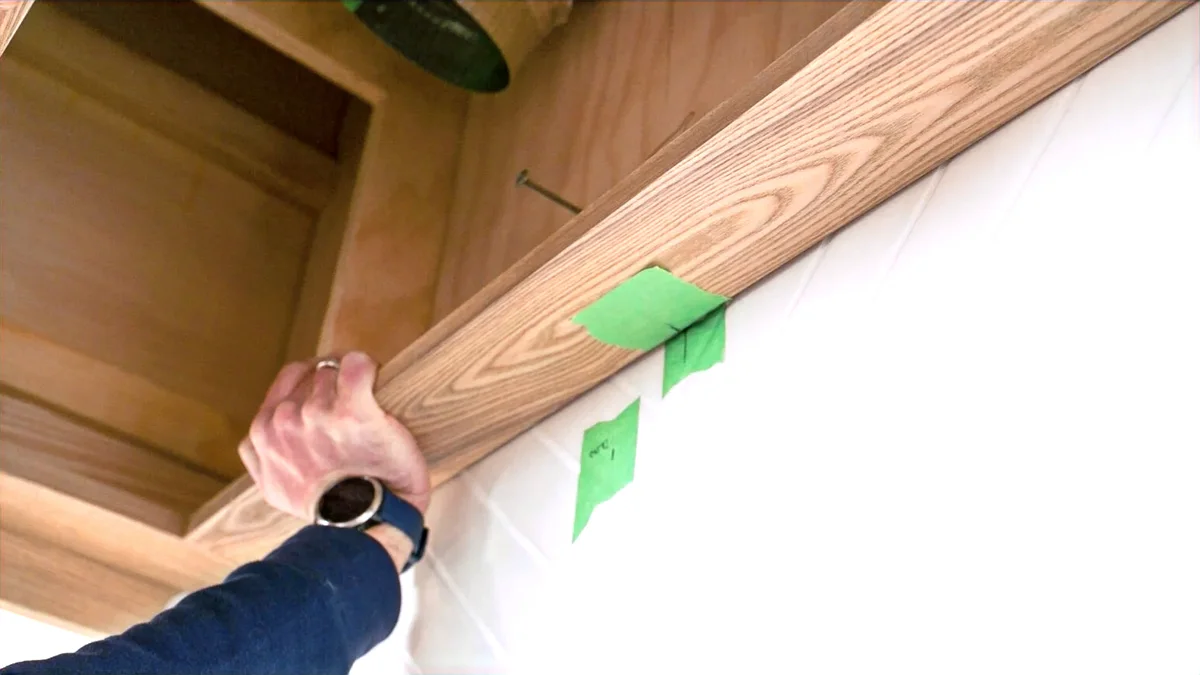
STEP 02
Lift the shell into place and align it with the marked guidelines. Keep it supported while the installer positions the hardware and checks height and level.
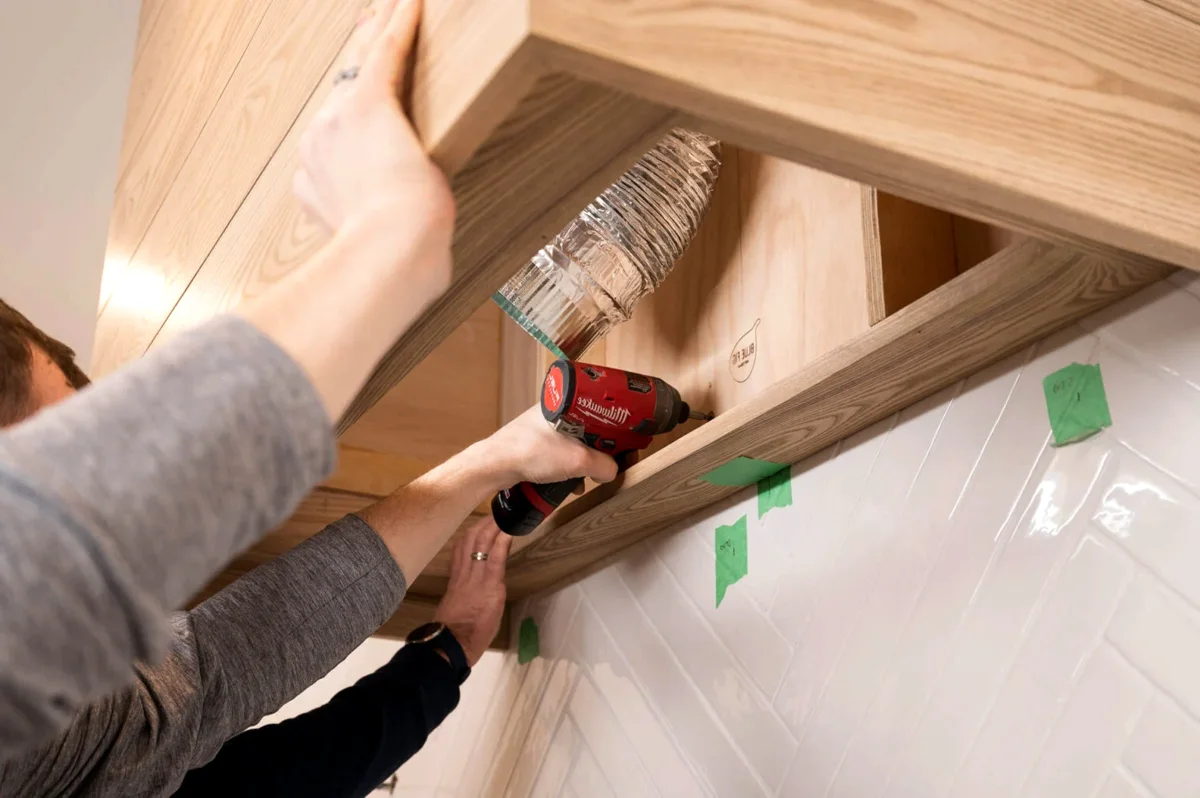
STEP 03
Use mounting hardware appropriate for the wall and hood. Check the shell is level and secure, keeping the duct connection accessible.
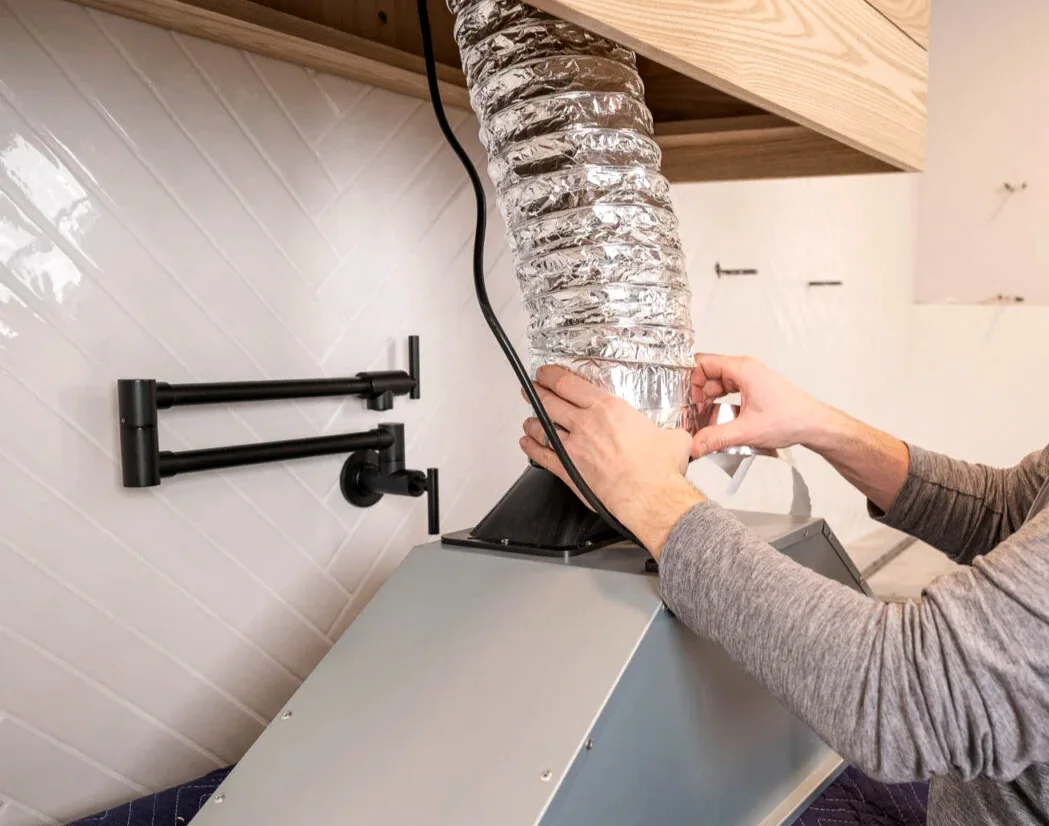
STEP 04
Connect prepared ductwork to the insert outlet according to the insert instructions. Check the connection is secure and sealed before final positioning.
STEP 05
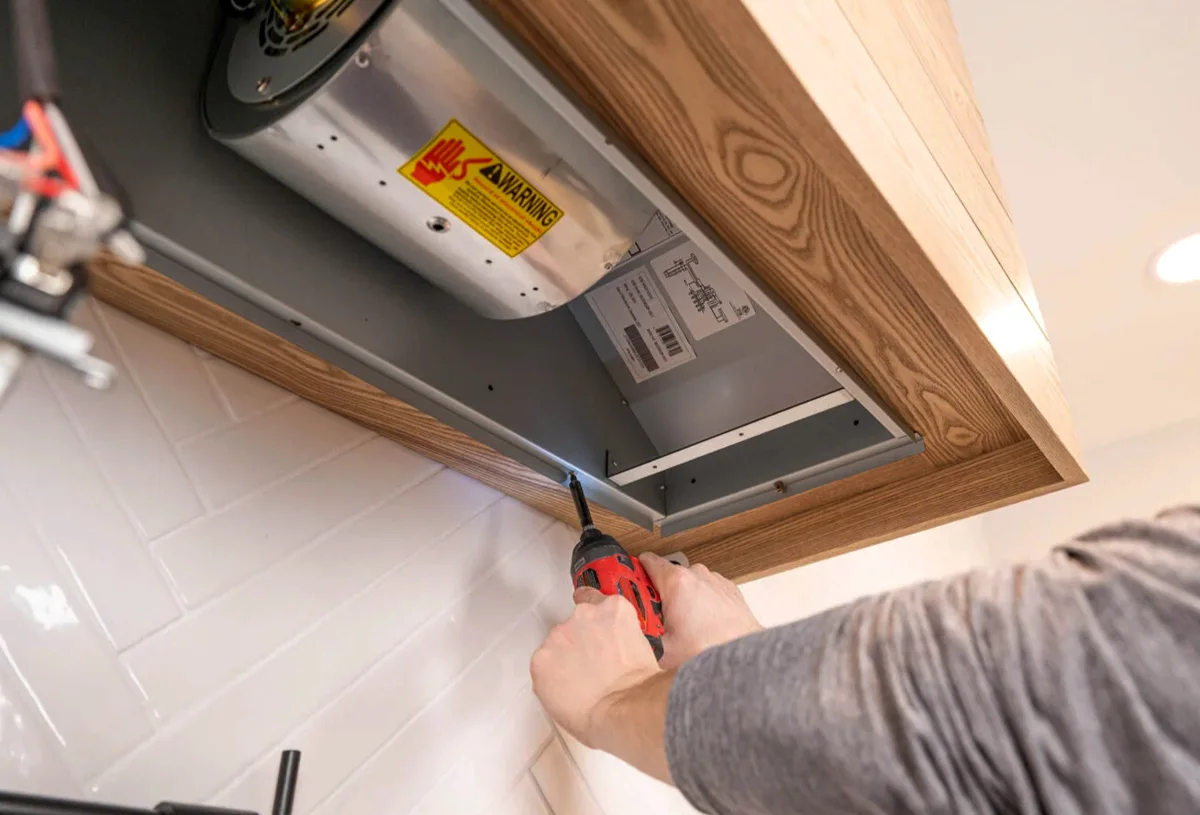
Align the insert with the shell opening and secure it using the manufacturer’s specified mounting points and fasteners. Check that it sits evenly.
STEP 06
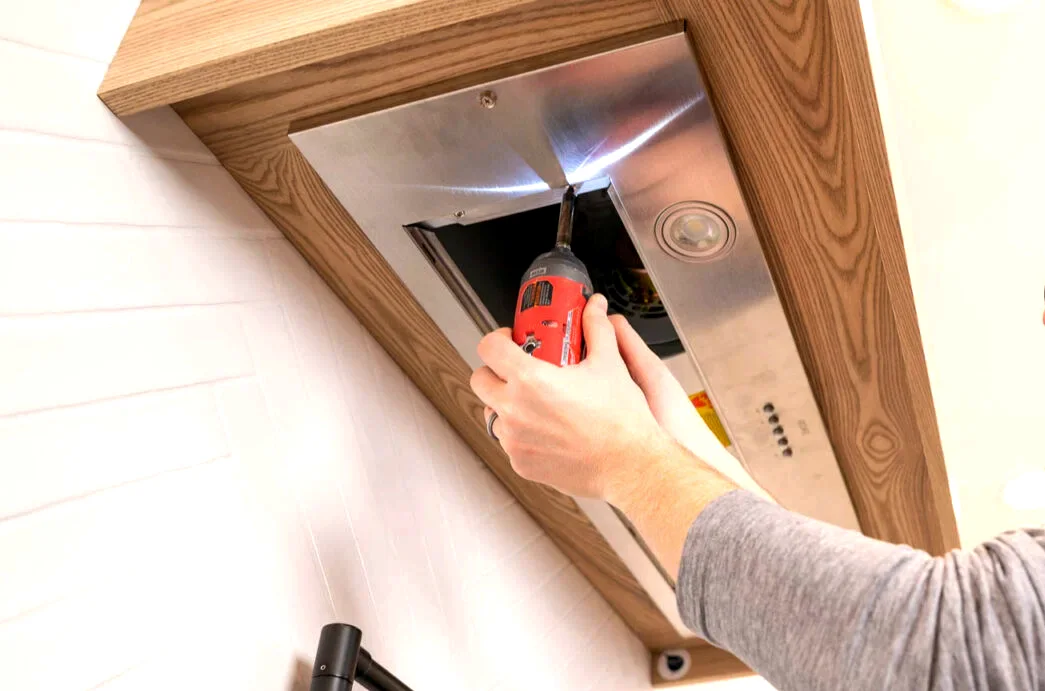
Review all mounting points and tighten fasteners as directed. Confirm the insert and lower panel sit evenly. Complete the electrical connection before restoring power.
STEP 07
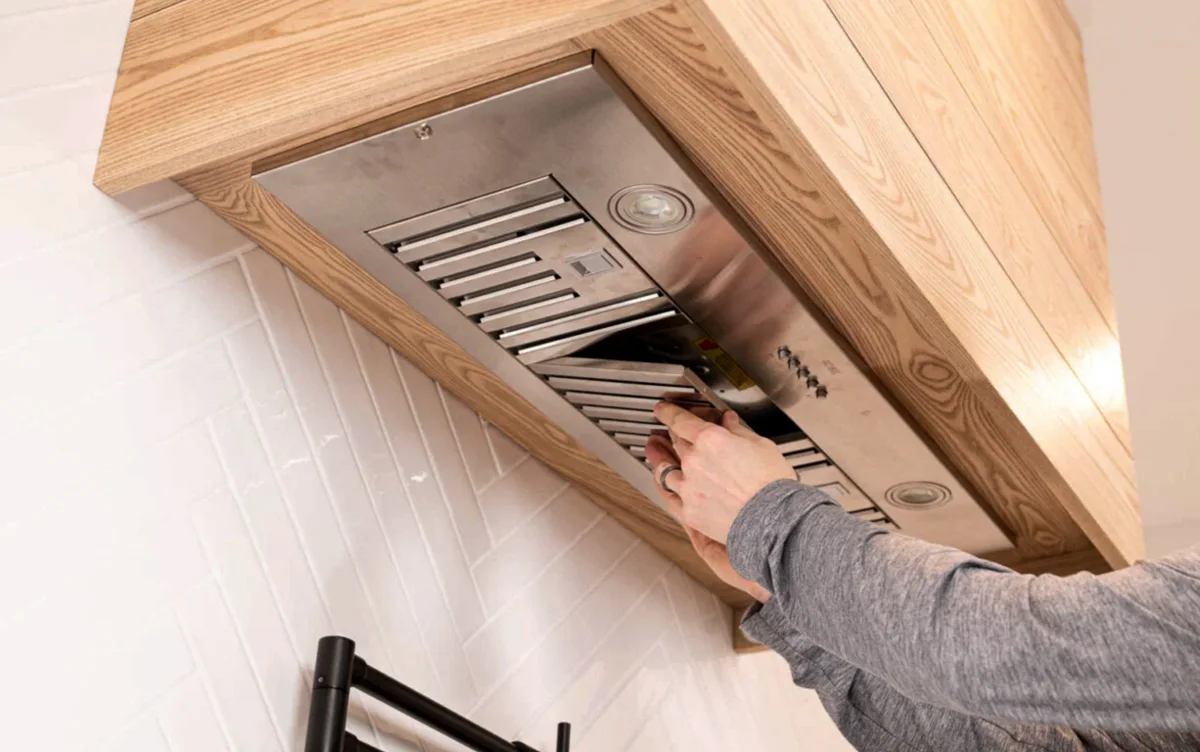
Fit the filters as specified, restore power once installation is complete, and test each fan speed and the lights. Ask the installer to investigate rattling, vibration or loose parts before use.
LET’S MAKE IT YOURS
Send the insert model and any fit questions before the shell is built.